Source code
GitHub RepoLanguages used
- Swift
Features used
Steps
Set up your Radar account
You will need a Radar account to get started with the location building blocks used in this application. Log in to your account, or Sign up for a free account if you don’t have one yet.Find your API keys on the Get Started page. We will be using your Test publishable (client) key in the iOS app.Get API keysFinally, let’s create your first geofences if you haven’t done so already. We will use them as trip destinations during app development and testing. To create a geofence via the dashboard, go to the Geofences page and click the New button. Search for an address or a place, then enter a
description, tag, external ID, and optional metadata.Install the Radar iOS SDK
Create an Xcode project with a SwiftUI interface, named Then, run
DeliveryTracker.The recommended method of installing the iOS SDK is with Cocoapods. See the iOS SDK docs for alternatives.Install CocoaPods. If you don’t have an existing Podfile, run pod init in your project directory. Add the following to your Podfile:pod install. You may also need to run pod repo update.After installing, close your project, and open the .xcodeworkspace instead. in Xcode instead of the
.xcproject file.Initialize the SDK
Create a new Swift file named Finally, add an @ObservedObject property to the
LocationManager.swift, where we define a LocationManager class to handle location-related logic, and create a shared instance to be used across the app. Initialize the SDK in this class with your publishable API key, and set this class to be the CLLocationManager delegate.DeliveryTrackerApp class in DeliveryTrackerApp.swift as shown below.Request location permissions
Before requesting permissions, you must add location usage strings to the custom iOS Target Properties found in the Info tab of the app settings. To request foreground permissions in the app, add a new property with the key 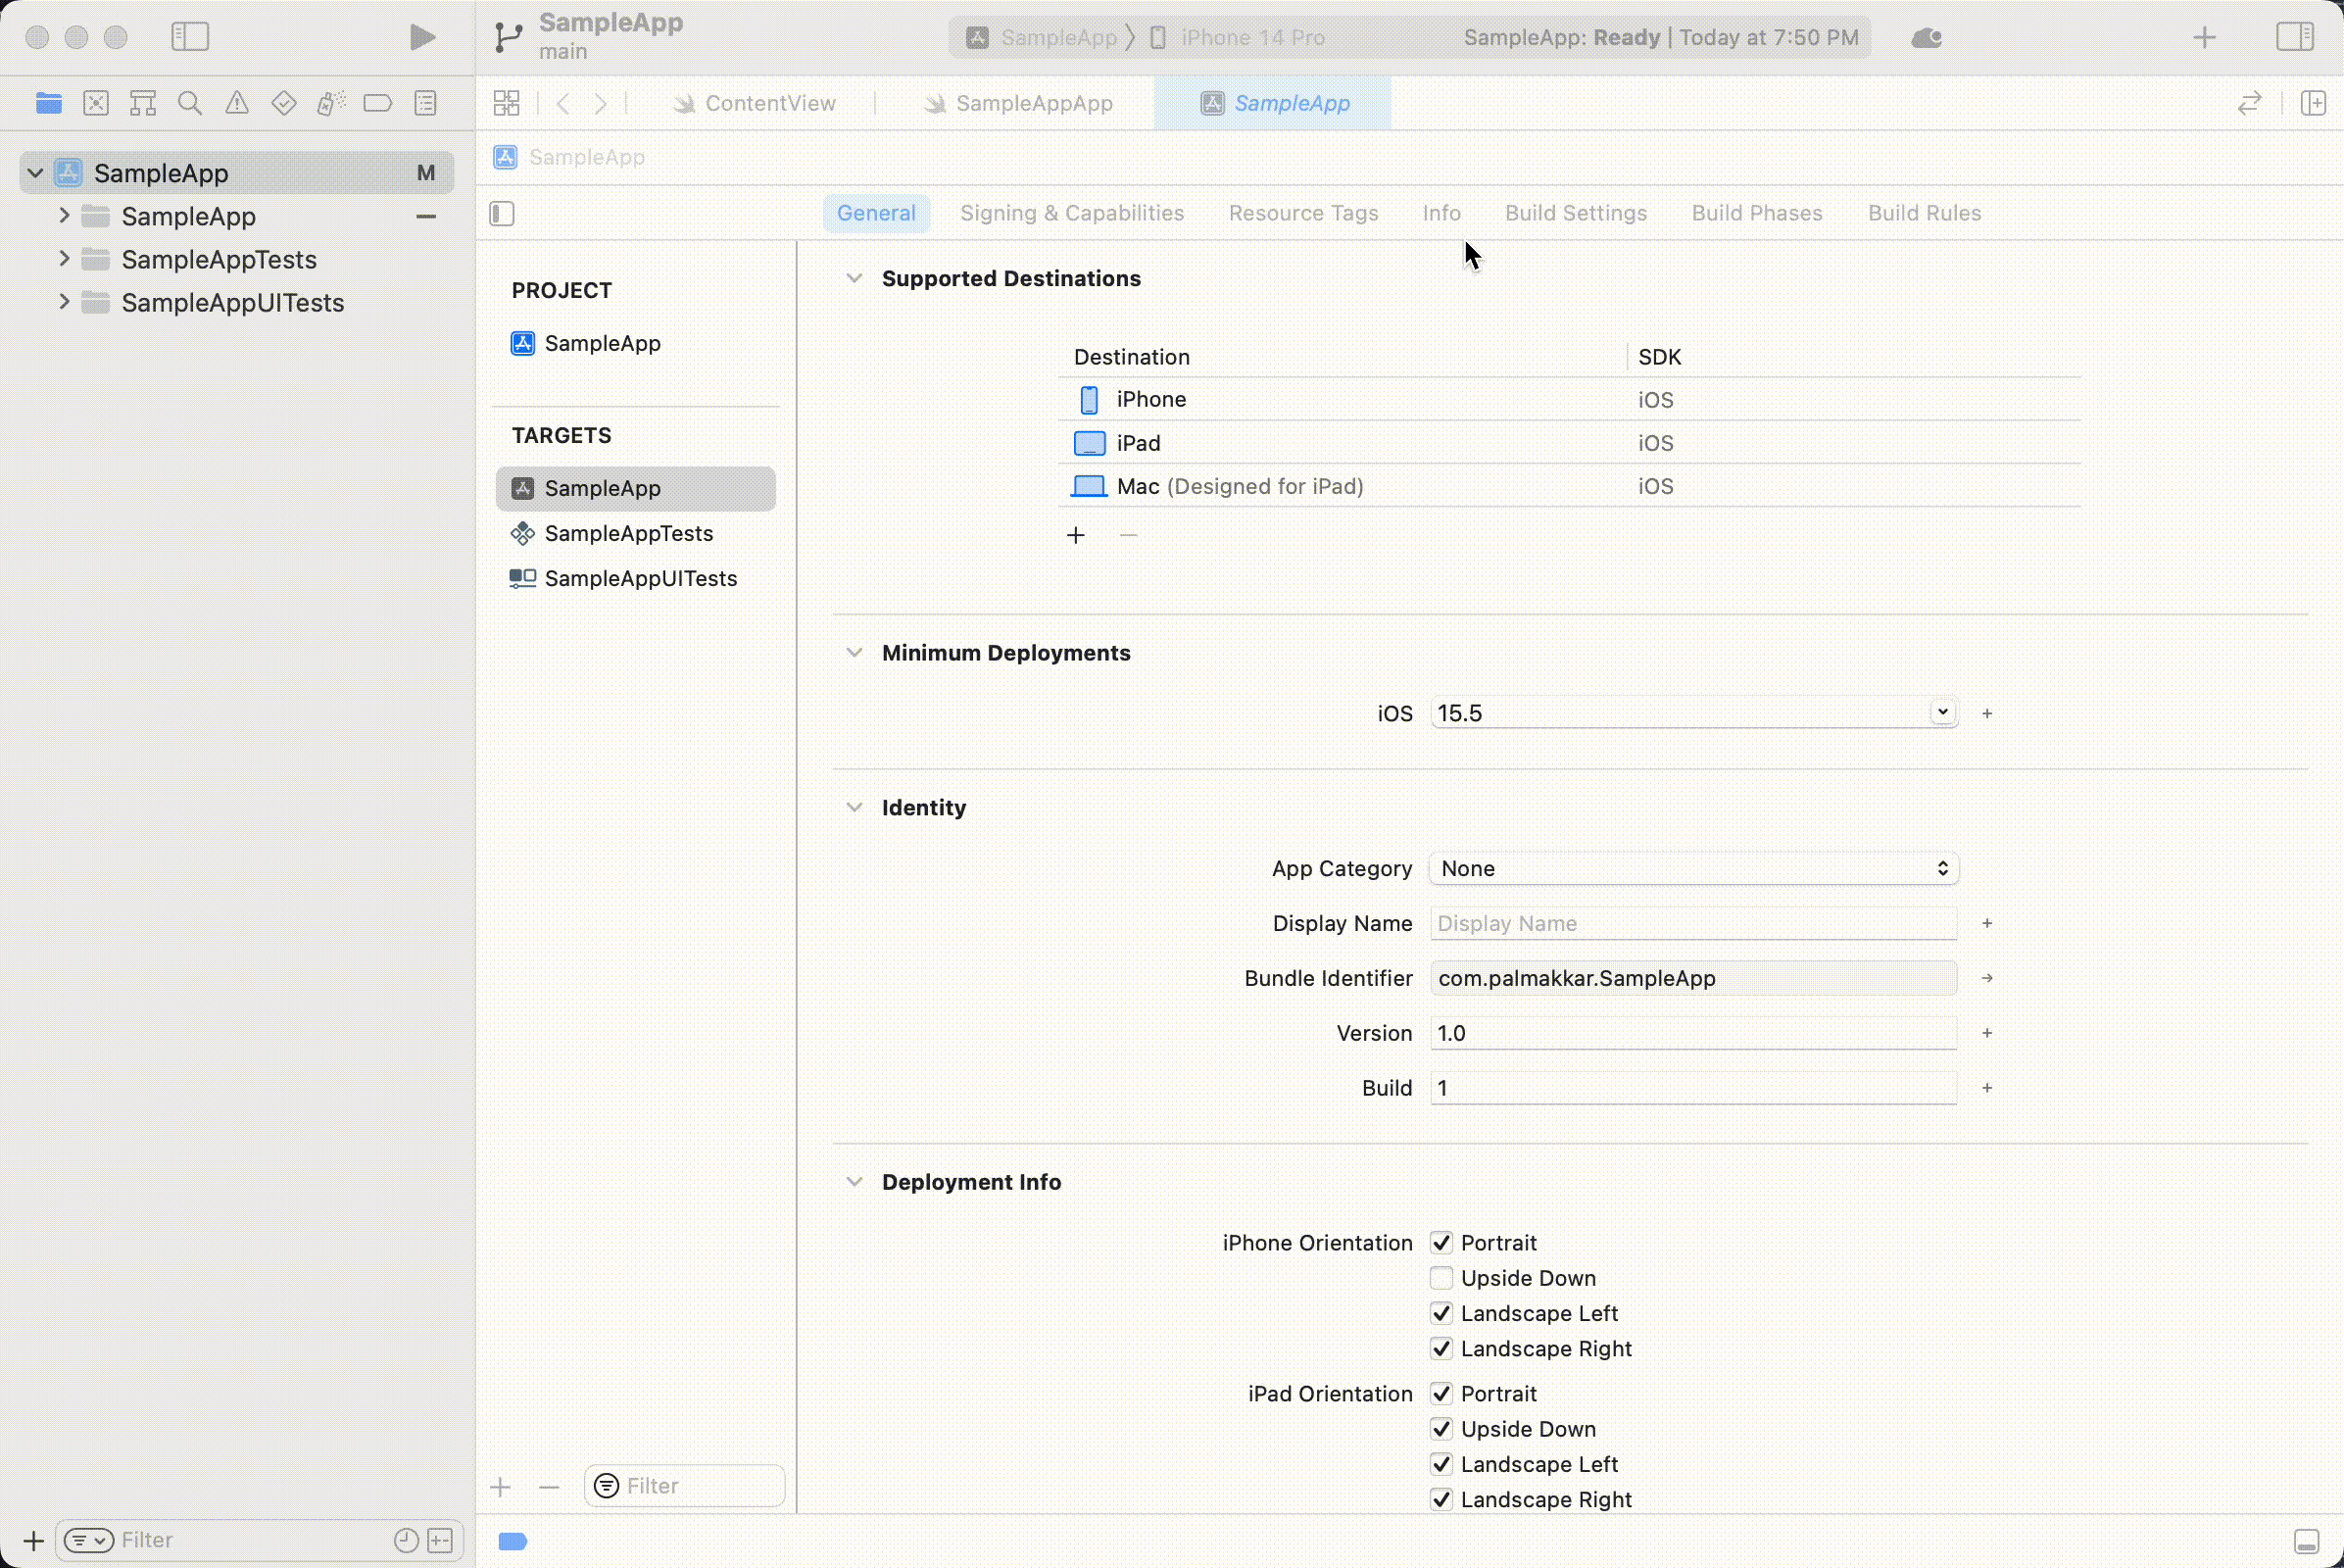
NSLocationWhenInUseUsageDescription (Privacy - Location When In Use Usage Description). The value is displayed in the location permission prompts. Enter a message such as Your location will be used to share ETA and arrival notifications to customers.LocationManager class:Checkpoint: Launch app and grant location permissions!
At this point, you should be able to launch the app and see a prompt asking for location permissions. Accept these permissions!If you are following the step-by-step app implementation in this tutorial, let’s set up the sample app skeleton at this point. Copy these SwiftUI view files from the source code or this zip file into your project: In the next few steps, we will set up trip tracking capabilities to power these skeleton components.
JobListView.swift, DispatchJobView.swift, AcceptedJobDetailView.swift, JobCard.swift, JobDetailView.swift. Copy over Job.swift as well, which defines the Job struct and contains sample jobs. Then in DeliveryTrackerApp.swift, set JobListView to be the scene in the App body:Add trip start logic
When a delivery starts, we create a trip to the destination geofence and start tracking the live location for the user. From the source code, Notice that we use
DispatchJobDetailView.swift contains the button to start a trip for a given job. We will now define its action startOrStopTrip in the LocationManager class.The button action contains trip start logic (and trip cancel logic for in progress trips) as shown below. We use a uuid for the trip externalId, although existing delivery ids should be used here when applicable. Set your destination geofence from Step 1.Radar.mockTracking() instead of track for now, which helps simulate a sequence of location updates from an origin to a destination quickly for testing. In this case, we simulate a sequence of 10 location updates, each 2 seconds apart, by car from the origin to the destination.Add trip completion logic
We will use arrival at the trip destination as a signal that the delivery is complete. To do this, we need to listen for the corresponding event, then complete the trip and stop tracking when it is detected. Update the Then, add a
LocationManager to be our RadarDelegate:didReceiveEvents method with trip completion logic when it is called with the userArrivedAtTripDestination event type, and add in the other RadarDelegate methods:Checkpoint: Create a trip!
With the steps we’ve covered so far, you are ready to create your first trip in the app! Run the app, and click the start button in the DispatchJobView. Now head to the Trips page where you will find all current and past trips. Ensure that a new trip appears in the started state at the top of your dashboard. With mock tracking automatically making progress on the trip in the background, the trip status should change to completed within the next minute.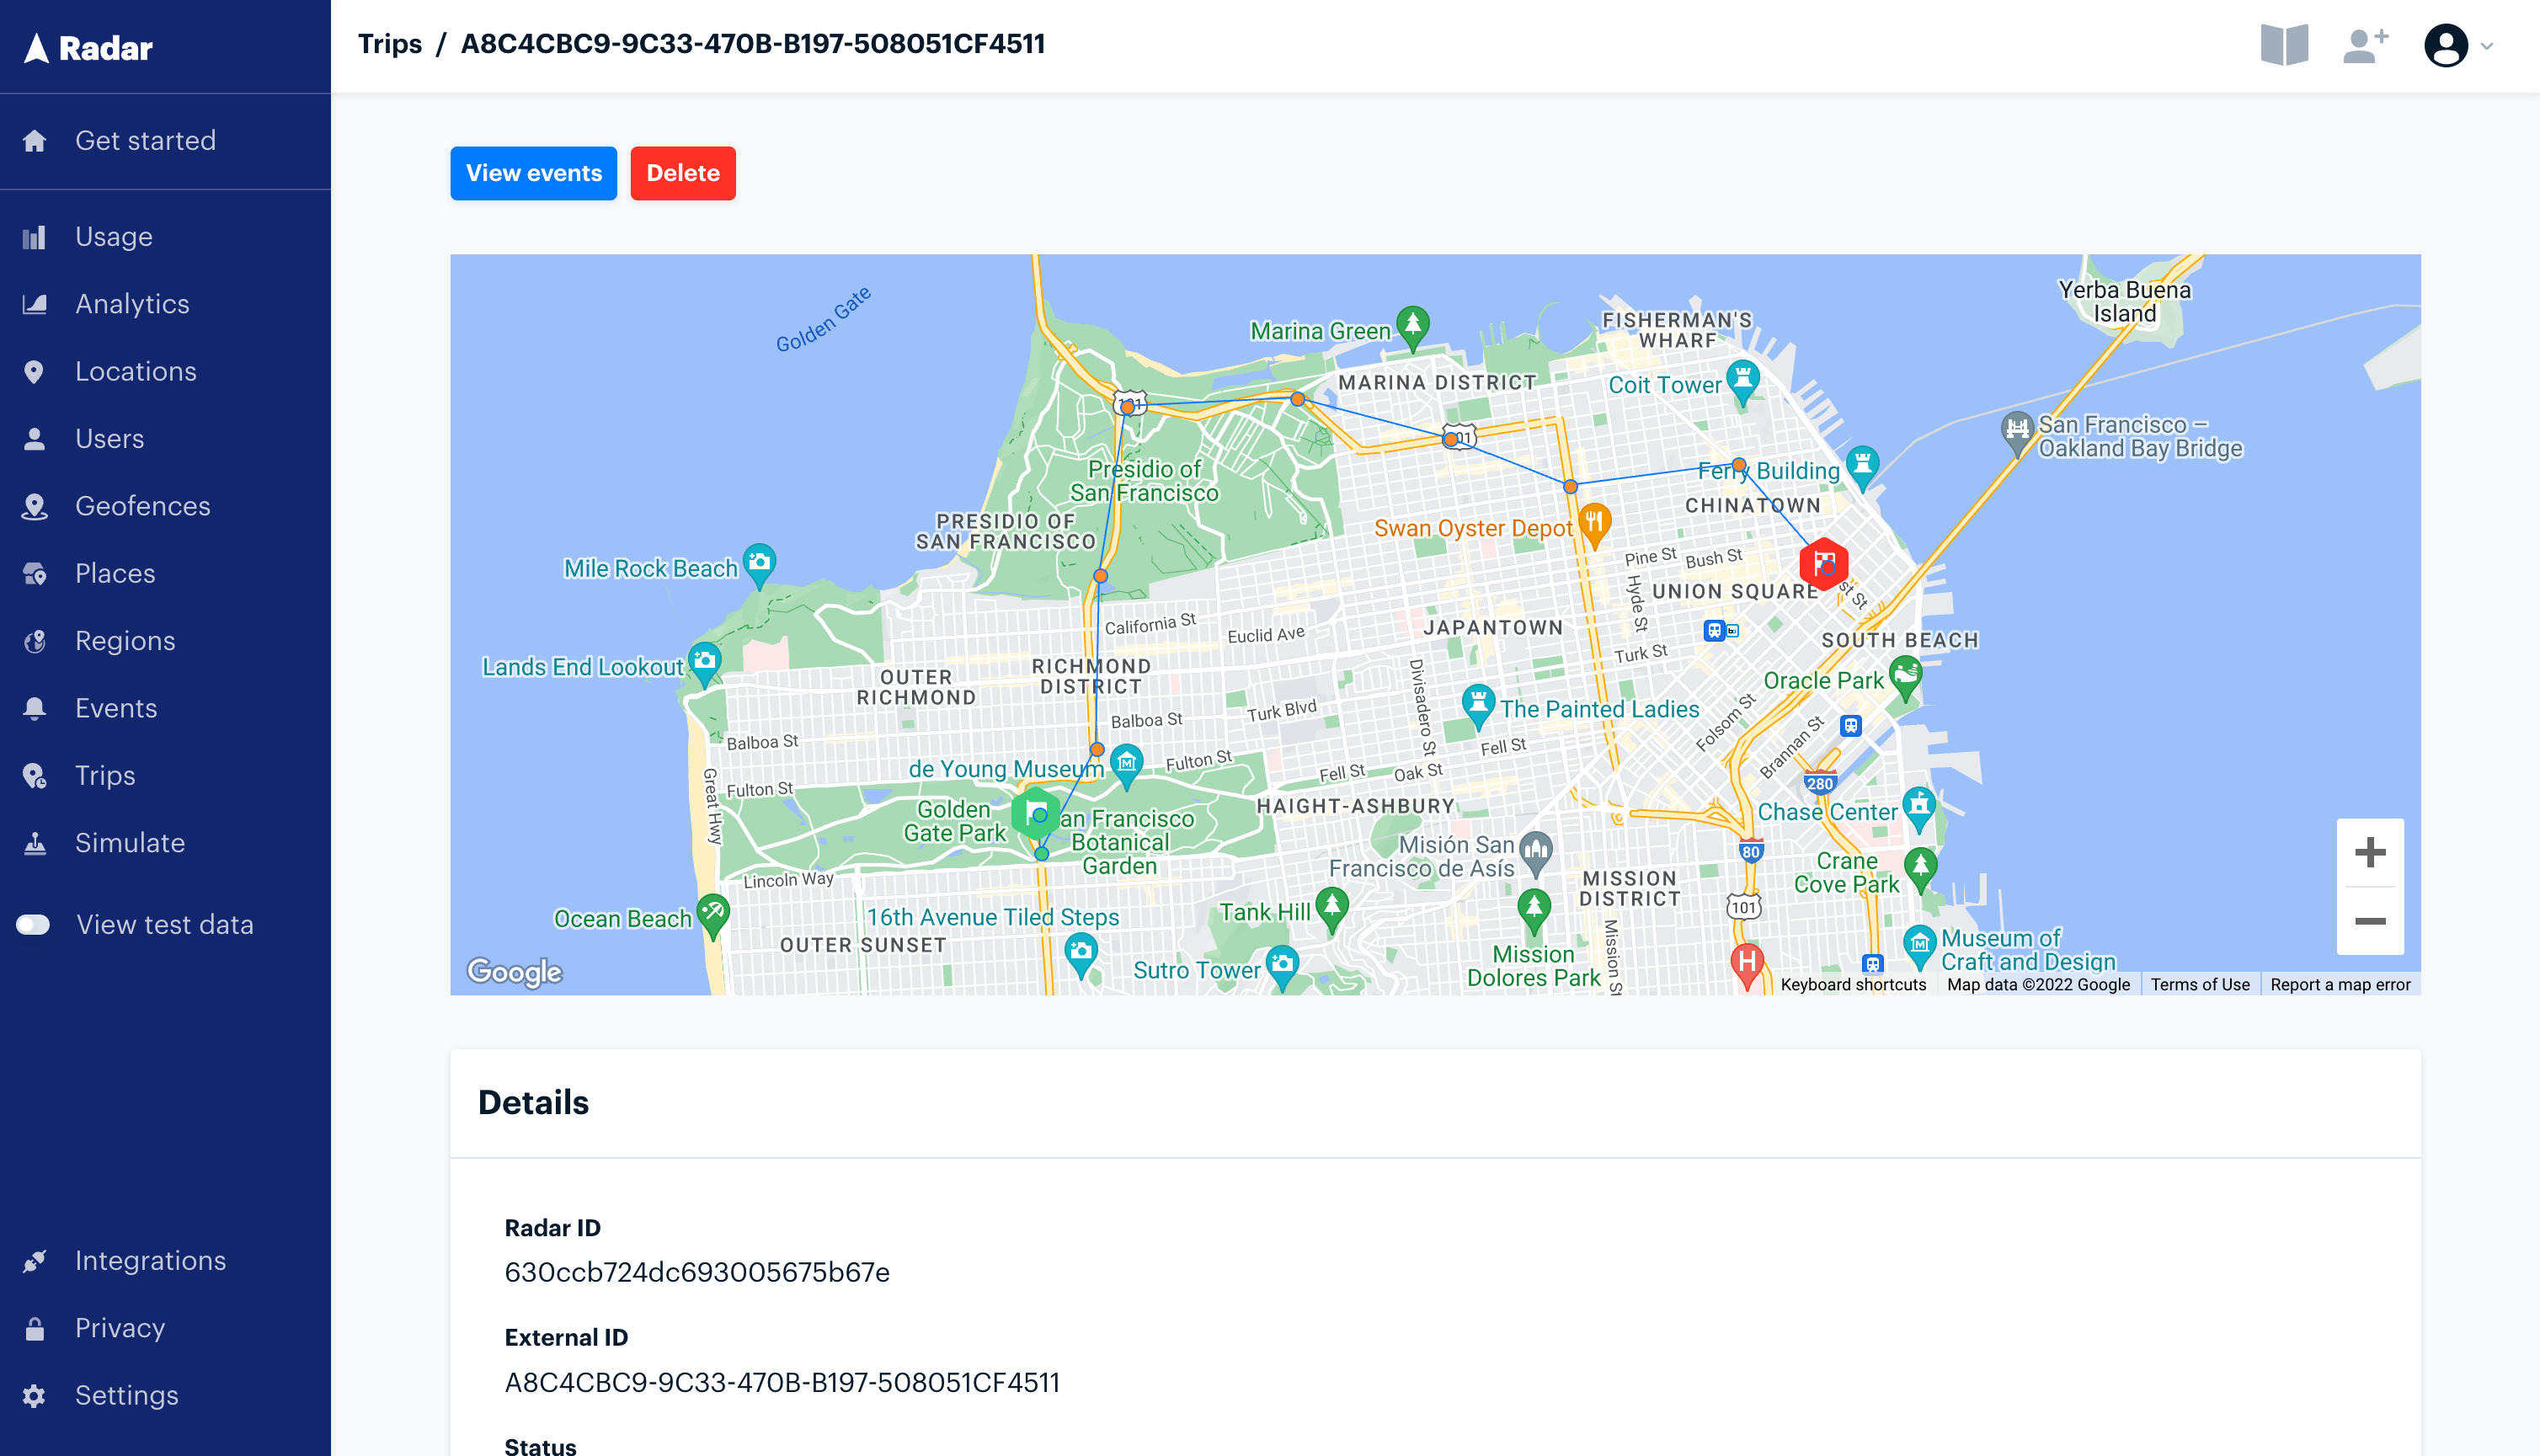
Send trip update notifications
Next, we will set up notifications for key trip updates. First, in a new file titled Then initialize a Finally, we need to update the listener logic from Step 6 in You should now see notifications as a trip progresses!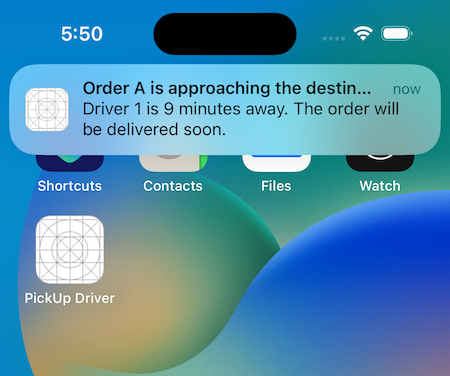
NotificationManager.swift, define a LocalNotificationManager as shown below:LocalNotificationManager in the LocationManager class.LocationManager to the following in order to send notifications:Display live map location and ETA
Lastly, we will create a map view with live location tracking for the ongoing trip, complete with a live ETA.Create this map view in a new view file named This view uses the shared instance of the location manager as an observed variable to refresh the map markers, region, and ETA when there are location updates. Now, update the Finally, call the The
TrackMapView.swift with the following content:LocationManager with definitions for the published variables that will hold this information, and a create a new method named updateCurrentLocation to handle location updates as shown below.updateCurrentLocation method in didReceiveEvents for trip events.currentLocation, region, and eta variables update with events in the listener logic, and the map view refreshes as they change. You should now see the live map view and ETAs for your trips in the app!Next steps
Congratulations on finishing the tutorial! This is an illustrative example to get started with trip tracking. Here are some next steps and considerations before using these features in a production setting:
- On trip start, replace the mock tracking call with
Radar.startTrackingin the application that delivery drivers to be tracked will be using. - Set trip destinations to geofences with delivery locations instead of the test geofence. Geofences can also be created programmatically via the geofence upsert API.
- Use Braze to send push instead of local notifications to other users with different devices.