> ## Documentation Index
> Fetch the complete documentation index at: https://docs.radar.com/llms.txt
> Use this file to discover all available pages before exploring further.
# Building a web store locator
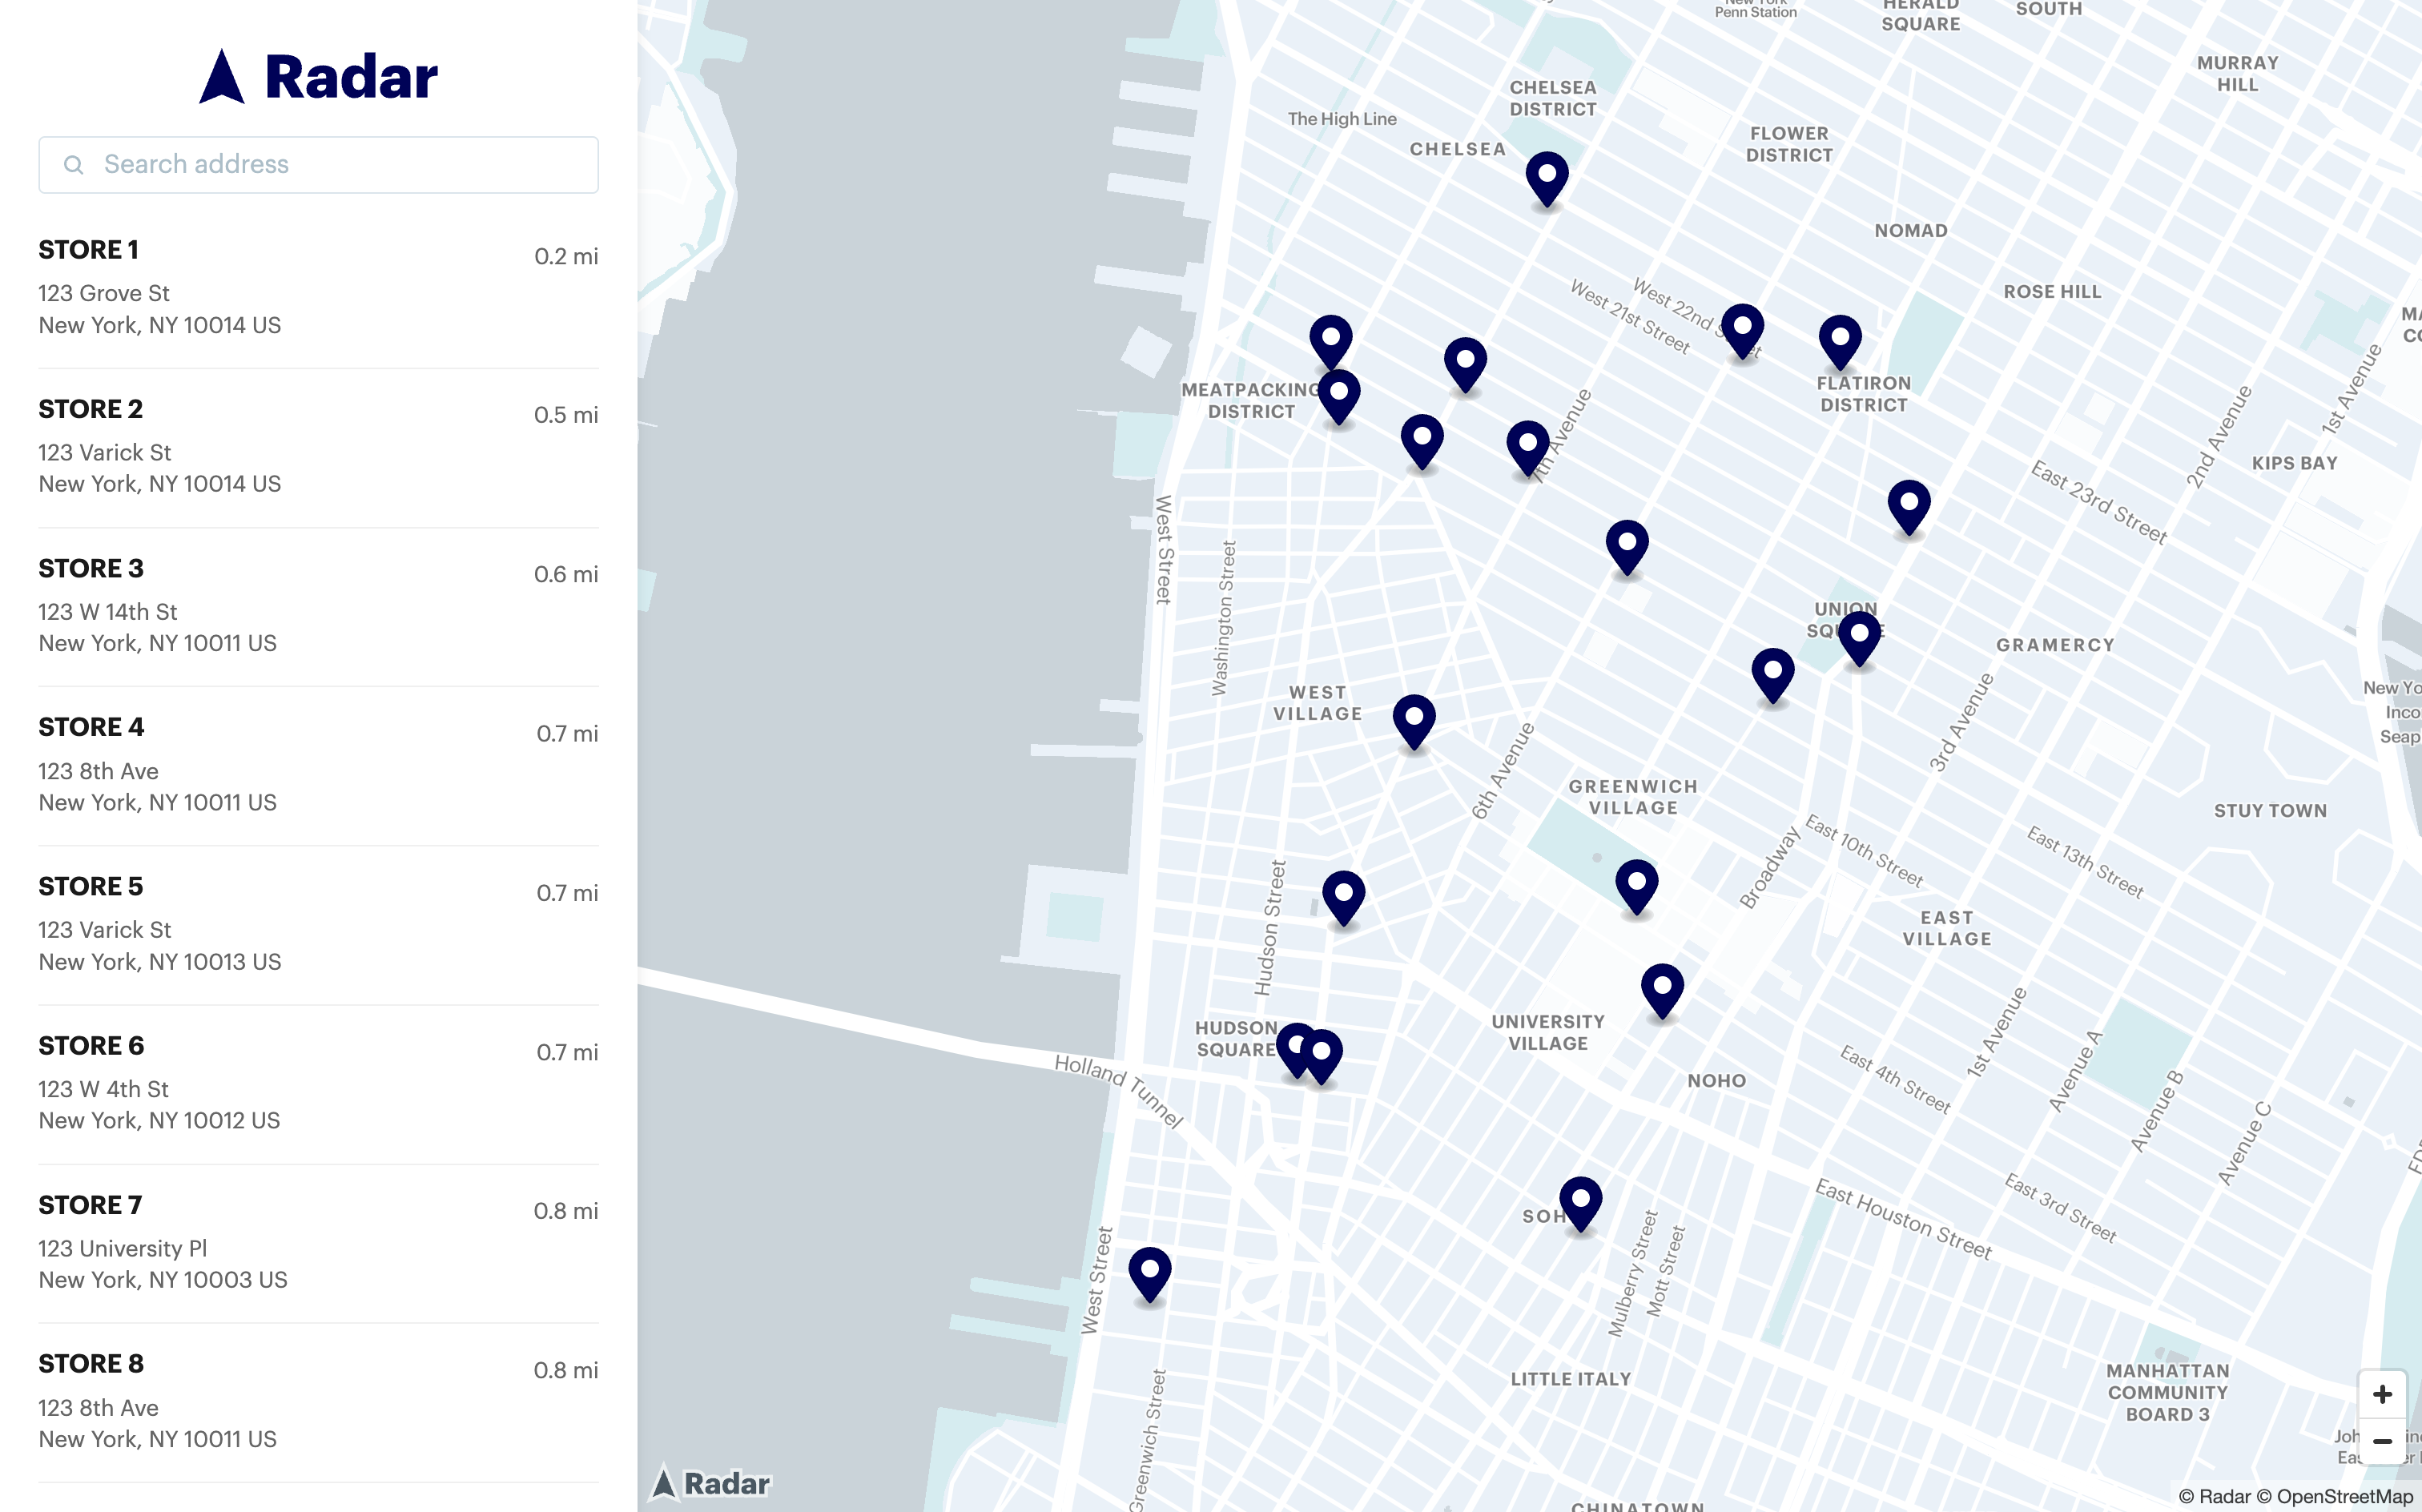
This tutorial walks you through creating a web store locator that helps users find your nearest locations. We'll build a map that centers on the user's location, displays store markers, and includes search functionality with distance calculations.
## Features used
* [Radar Maps](https://docs.radar.com/maps/maps)
* [IP geocode API](https://docs.radar.com/api#ip-geocode)
* [Autocomplete component](https://docs.radar.com/maps/autocomplete)
* [Matrix API](https://docs.radar.com/api#matrix)
## Getting started
If you haven't already, sign up for Radar to get your API key. Then add the Radar SDK to your application.
### With npm or yarn
Install the core SDK along with the maps and autocomplete plugins:
```sh theme={null}
npm install radar-sdk-js @radarlabs/plugin-maps @radarlabs/plugin-autocomplete maplibre-gl
```
Then import and register the plugins in your project:
```javascript theme={null}
import Radar from 'radar-sdk-js';
import { createMapsPlugin } from '@radarlabs/plugin-maps';
import { createAutocompletePlugin } from '@radarlabs/plugin-autocomplete';
import '@radarlabs/plugin-maps/dist/radar-maps.css';
import '@radarlabs/plugin-autocomplete/dist/radar-autocomplete.css';
Radar.registerPlugin(createMapsPlugin());
Radar.registerPlugin(createAutocompletePlugin());
// initialize with your test or live publishable key
Radar.initialize('prj_test_pk_...', { /* map config options */ });
```
### With HTML
Add the core SDK and plugin scripts to your HTML file:
```html theme={null}
```
The plugin CDN bundles auto-register with the core SDK when loaded.
Then, initialize the Radar SDK:
```html theme={null}
```
## Create a map
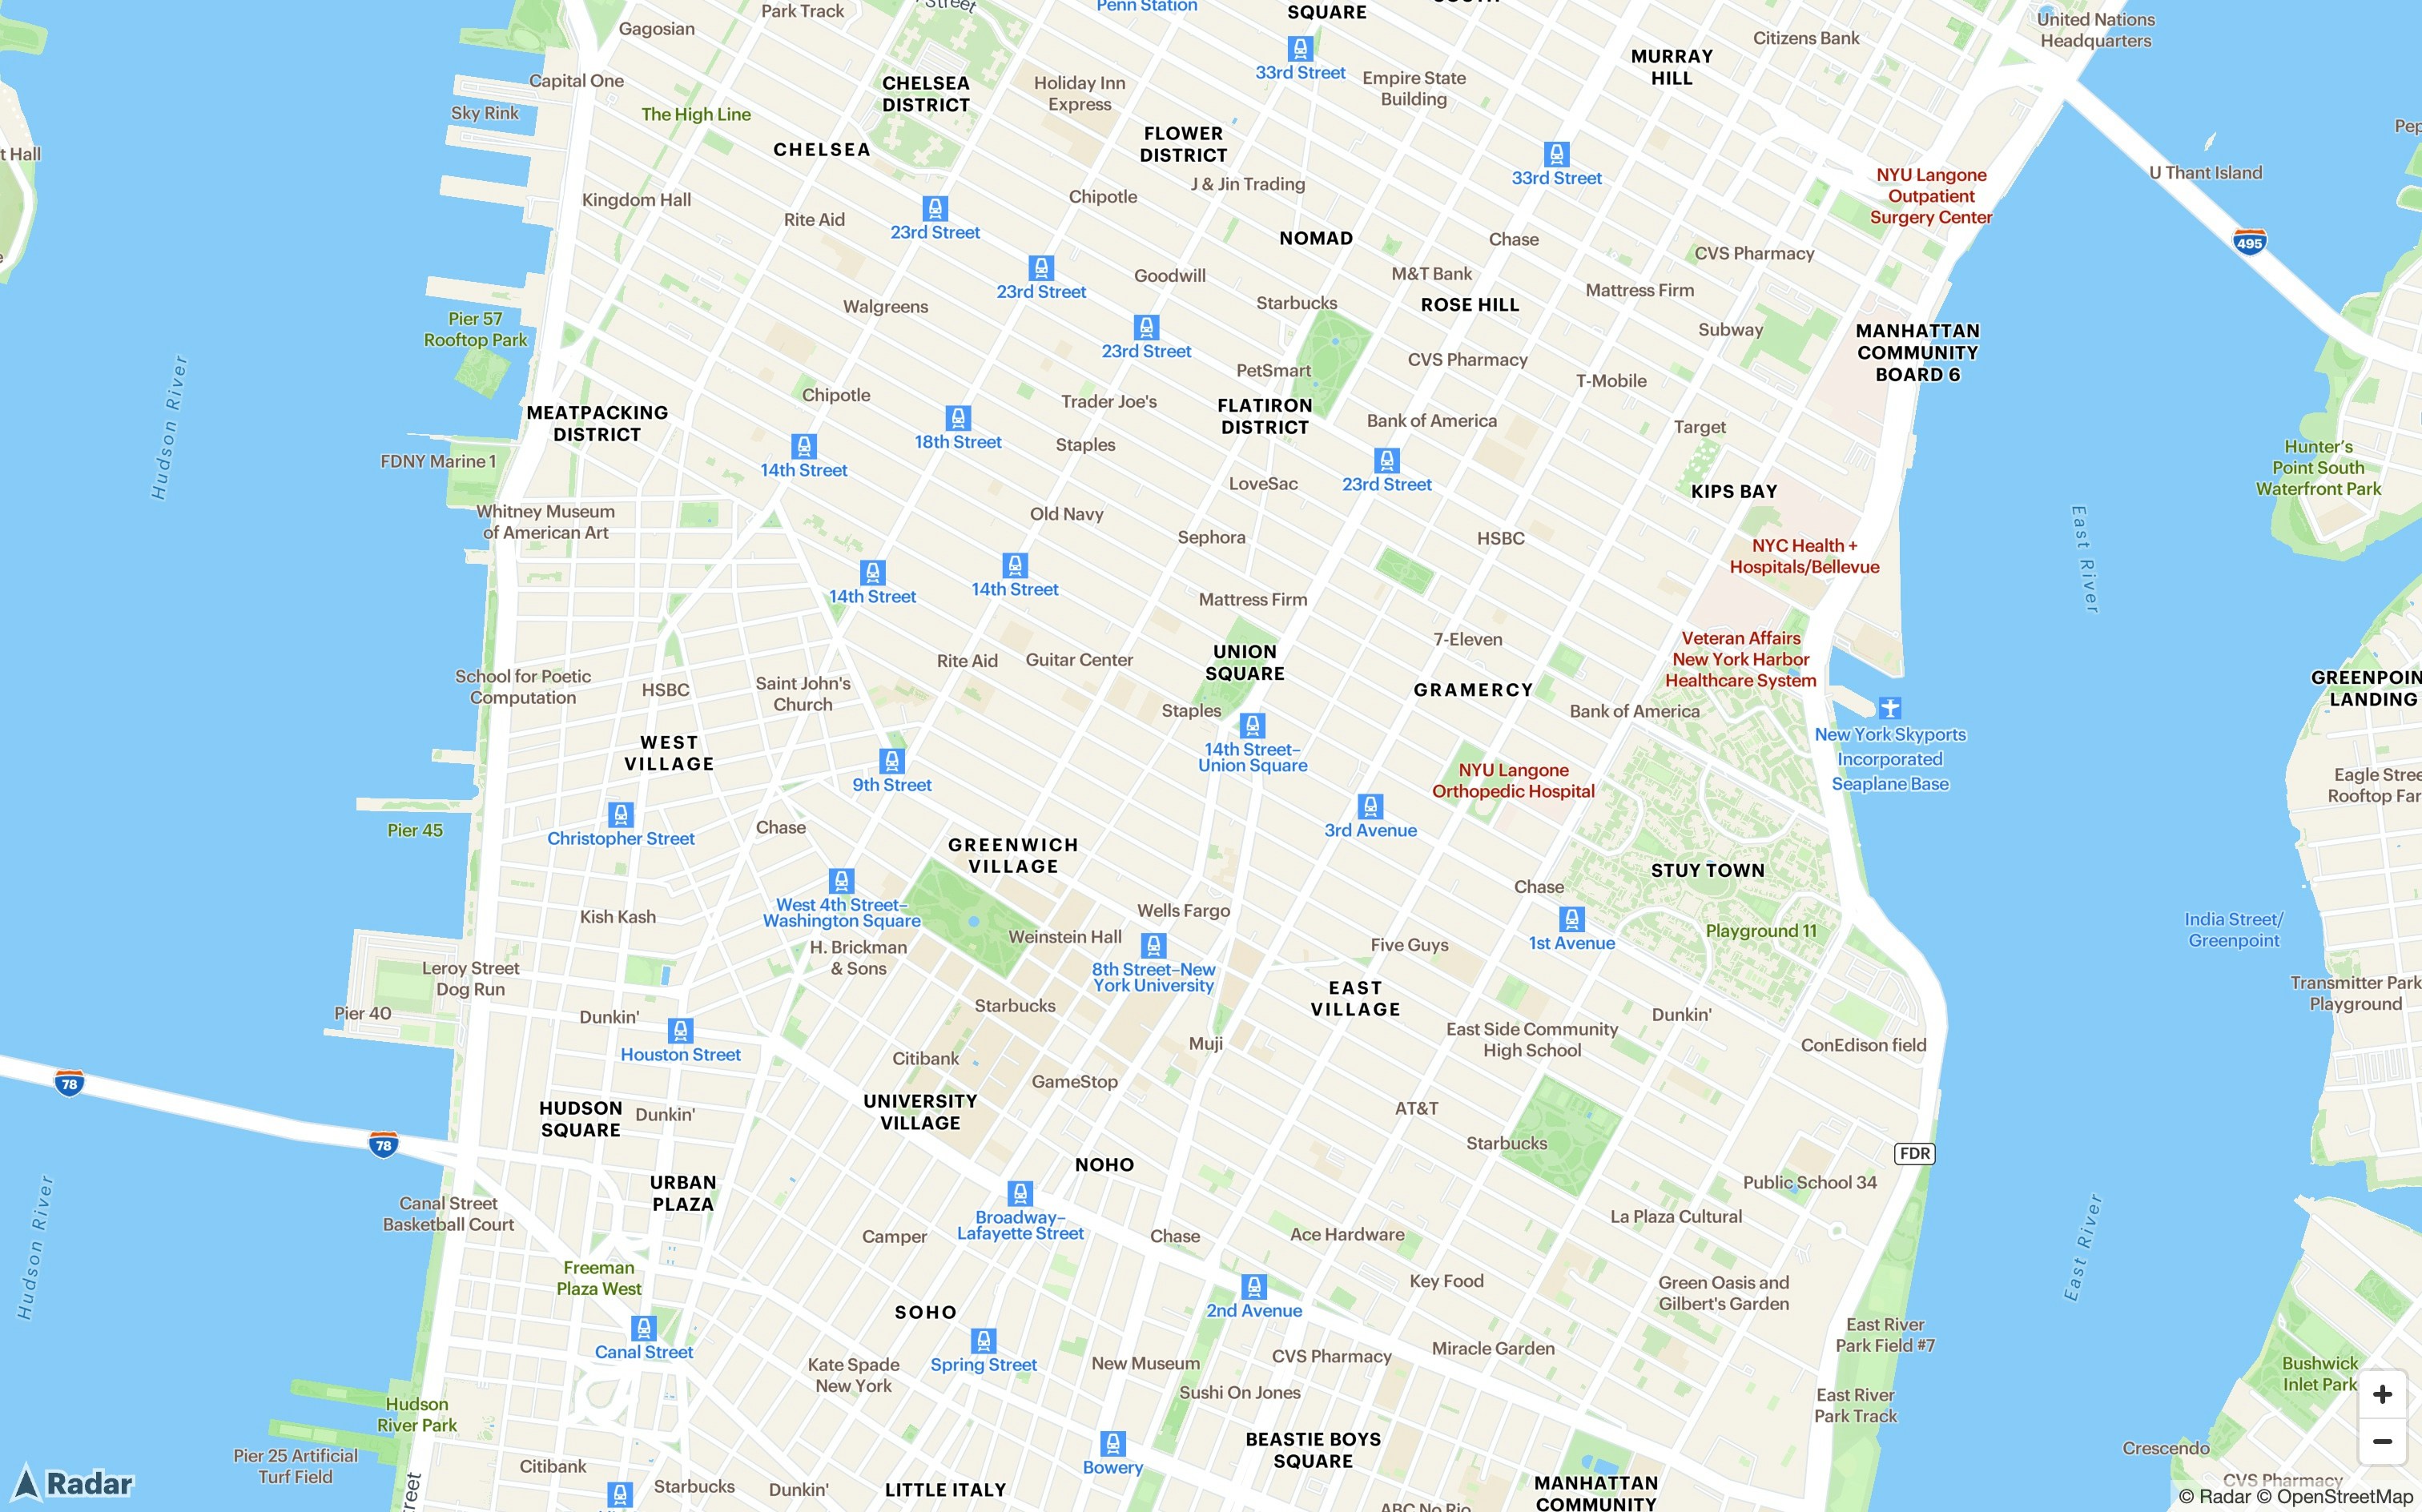
Once the SDK is installed, you can render a Radar Map. The map serves as the foundation for your store locator, providing an interactive interface for users to explore store locations.
Specify the HTML element where you want to render the map by providing the element's ID or the element object itself. For more options to configure a map, see our [Maps](https://docs.radar.com/maps/maps#configuration) documentation.
```html HTML theme={null}
```
```javascript React theme={null}
import React from 'react';
import Radar from 'radar-sdk-js';
import { createMapsPlugin } from '@radarlabs/plugin-maps';
import '@radarlabs/plugin-maps/dist/radar-maps.css';
Radar.registerPlugin(createMapsPlugin());
class RadarMap extends React.Component {
componentDidMount() {
Radar.initialize('prj_live_pk_...');
// create a map
const map = Radar.ui.map({
container: 'map',
style: 'radar-default-v1',
center: [-73.9911, 40.7342], // NYC
zoom: 14,
});
// add a marker to the map
Radar.ui.marker({ popup: { text: 'Radar HQ' } })
.setLngLat([-73.9910078, 40.7342465])
.addTo(map);
}
render() {
return (
);
}
};
export default RadarMap;
```
### Add a custom map style
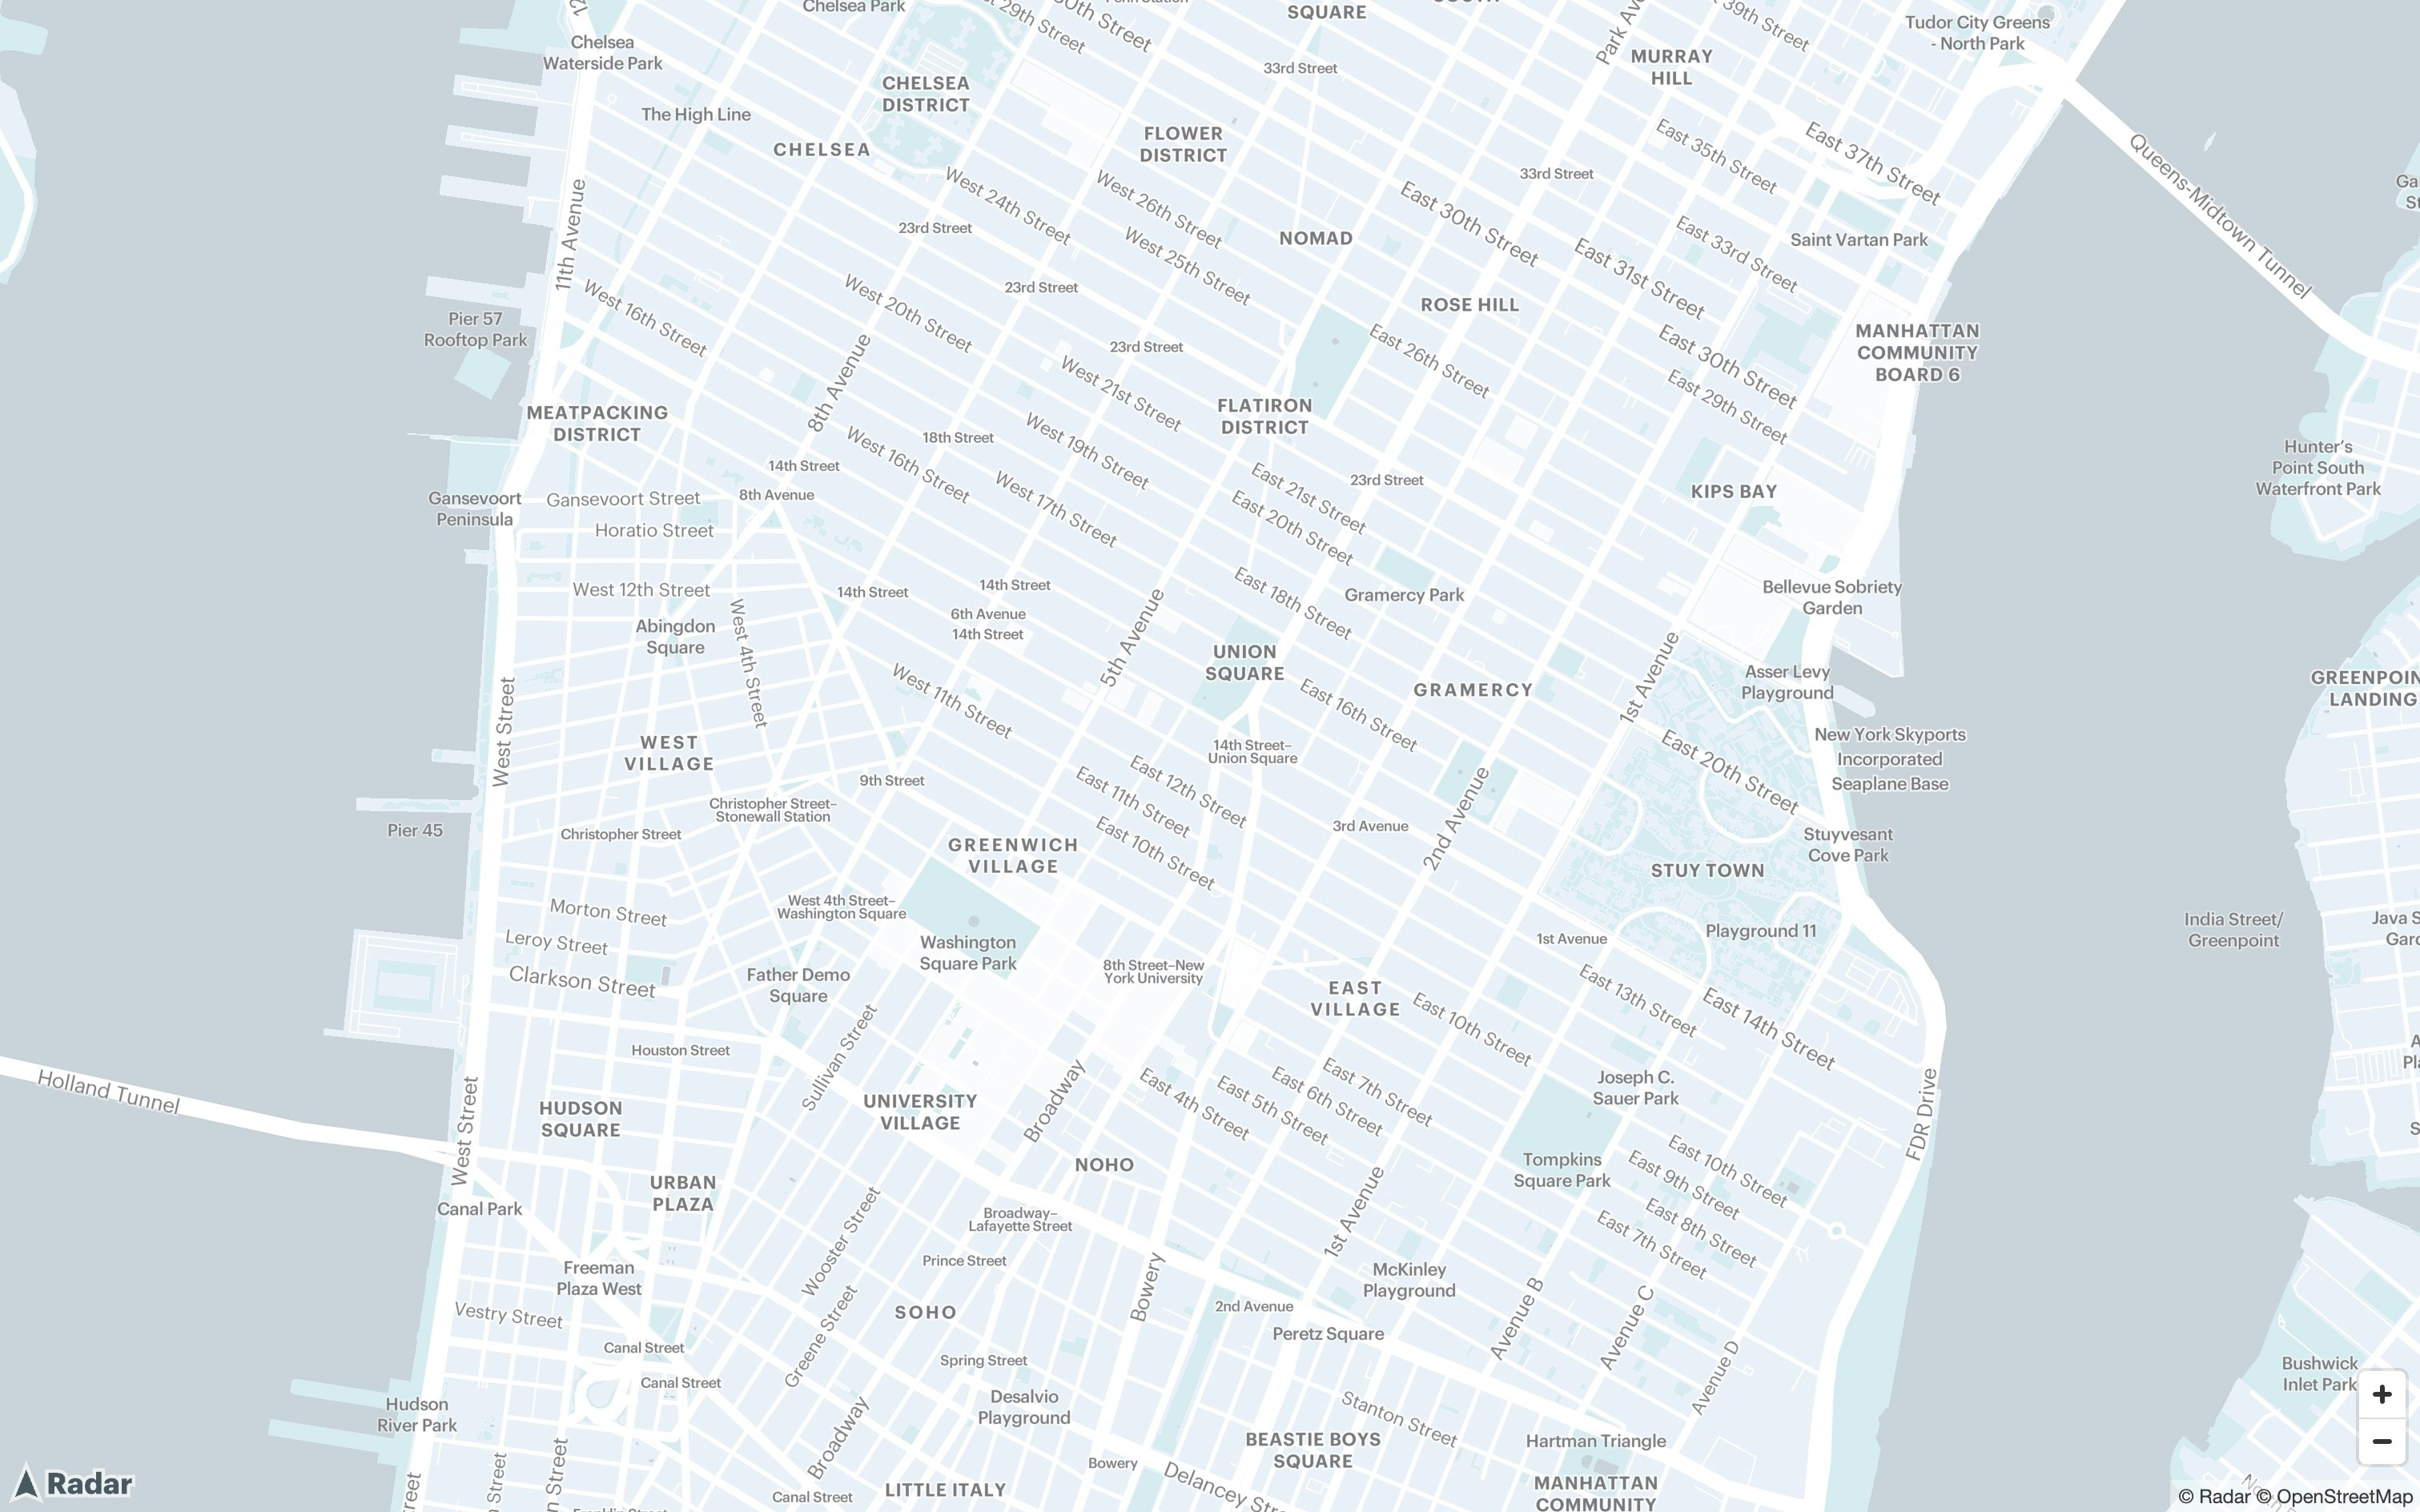
Radar Maps Studio allows you to create fully customizable maps for your store locator. This tool enables you to select custom styles, fonts, colors, and more, all within the Radar dashboard.
Follow this [tutorial](https://docs.radar.com/tutorials/create-a-custom-map-style) to create a custom map style. Add this style to your code as shown below.
```javascript theme={null}
// create a new map with custom style ID
const map = Radar.ui.map({
container: 'map',
style: '',
});
```
### Center the map with IP geocoding
Use Radar’s IP geocode API to localize the store locator to the user’s city without requesting location permissions. Below is sample code to call the API.
```javascript theme={null}
// get IP address
async function getIpAddress() {
try {
const response = await fetch('https://api.radar.io/v1/geocode/ip', {
method: 'GET',
headers: {
'Authorization': 'prj_live_pk_...'
}
});
if (!response.ok) {
throw new Error(`HTTP error! status: ${response.status}`);
}
const data = await response.json();
if (data && data.address && data.address.latitude && data.address.longitude) {
const { longitude, latitude } = data.address;
return [longitude, latitude];
} else {
return [-73.9911, 40.7342]; // fallback to NYC
}
} catch (error) {
console.error('Error getting IP location:', error);
return [-73.9911, 40.7342]; // fallback to NYC
}
}
```
Use the coordinates returned to center the map:
```javascript theme={null}
const userLocation = await getIpAddress(); // get user location via IP address
// create a new map with IP address as center
const map = Radar.ui.map({
container: 'map',
style: '',
center: userLocation,
});
```
The map now automatically centers on the user's city, making nearby stores immediately visible.
### Add markers and popups to the map
Populate your map with markers to show the locations of each store. You'll need a data source with your store coordinates and information like name and address.
Each marker can include a popup that displays when users click on it, showing detailed store information. This provides users with quick access to the necessary details for visiting a location.
```javascript theme={null}
const stores = [
{
name: 'Downtown Store',
address: '123 Main St, New York, NY 10001',
coordinates: [-73.990550, 40.735225],
},
// ... more stores
];
stores.forEach(store => {
const popupHTML = `
${store.name}
${store.address}
`;
Radar.ui.marker({
color: '#000257',
popup: {
html: popupHTML,
}
})
.setLngLat(store.coordinates)
.addTo(map);
});
```
## Add autocomplete for store search
The Radar autocomplete component allows users to search for addresses and locations, making it easy to find stores near a specific place.
### Integrating with a sidebar
For an existing store locator, the autocomplete component fits naturally at the top of this sidebar as a search input. If this store locator is net-new, consider adding a simple container positioned beside or overlaying your map where you display the store list and autocomplete search.
A typical layout structure looks like this:
```html theme={null}
```
Add the autocomplete component using the example below.
```html HTML theme={null}
```
```javascript React theme={null}
import React, { useEffect, useRef } from 'react';
import Radar from 'radar-sdk-js';
import { createAutocompletePlugin } from '@radarlabs/plugin-autocomplete';
import '@radarlabs/plugin-autocomplete/dist/radar-autocomplete.css';
Radar.registerPlugin(createAutocompletePlugin());
const RadarAutocomplete = () => {
const autocompleteRef = useRef(null);
useEffect(() => {
Radar.initialize('prj_live_pk_...');
autocompleteRef.current = Radar.ui.autocomplete({
container: 'autocomplete',
width: '600px',
onSelection: (address) => {
// Do something with the selected address
console.log(address);
},
});
return () => {
autocompleteRef.current?.remove();
};
}, []);
return (
);
};
export default RadarAutocomplete;
```
### Recenter the map based on user searches
When a user searches for and selects a location, recenter the map to their selection. This creates a responsive experience where the search interface and map work together seamlessly.
Update the `onSelection` callback to recenter the map. The `flyTo` method provides a smooth transition.
```javascript theme={null}
Radar.ui.autocomplete({
container: 'autocomplete',
width: '600px',
onSelection: (address) => {
// center map on selected address
const { latitude, longitude } = address;
map.flyTo({ center: [longitude, latitude], zoom: 14 });
});
```
## Calculate and display distances to stores
Show users how far each store is from the map's center point using Radar's matrix API. The distance calculations help users quickly identify their most convenient option.
Set the map center as the `origins` value and pass the list of store locations as the `destinations` value as a pipe-delimited string. Reference our [matrix API documentation](https://docs.radar.com/api#matrix) for additional information.
Once calculated, display these distance values in your sidebar next to each store. Make sure to recalculate distances as the map center changes.
```javascript theme={null}
// get distances from map center to all stores
async function getDistancesToGeofences(originCoords, storeList) {
try {
// prepare destinations from stores (max 100 per request)
const destinations = storeList
.filter(store => store.coordinates)
.map(store => {
const [lng, lat] = store.coordinates;
return `${lat},${lng}`;
})
.slice(0, 100); // API limit
if (destinations.length === 0) {
console.warn('No valid destinations found');
return null;
}
// format origin
const origin = `${originCoords[1]},${originCoords[0]}`; // lat,lng format
// build request URL
const url = `https://api.radar.io/v1/route/matrix?origins=${origin}&destinations=${destinations.join('|')}&mode=car&units=imperial`;
const response = await fetch(url, {
method: 'GET',
headers: {
'Authorization': 'prj_live_pk_...'
}
});
if (!response.ok) {
throw new Error(`HTTP error! status: ${response.status}`);
}
const data = await response.json();
// process results - data.matrix[0] contains distances from origin to all destinations
if (data.matrix && data.matrix[0]) {
const distances = data.matrix[0].map((route, index) => ({
store: storeList[index],
distance: route.distance?.value, // in miles
duration: route.duration?.value, // in minutes
distanceText: route.distance?.text,
durationText: route.duration?.text
}));
return distances;
}
return null;
} catch (error) {
console.error('Error calling Distance Matrix API:', error);
return null;
}
}
```
## Putting it all together
You now have a fully functional store locator with location detection, interactive markers, address search, and real-time distance calculations. Users can find their nearest stores in seconds without granting location permissions.
 ```javascript theme={null}
// create a new map with custom style ID
const map = Radar.ui.map({
container: 'map',
style: '
```javascript theme={null}
// create a new map with custom style ID
const map = Radar.ui.map({
container: 'map',
style: '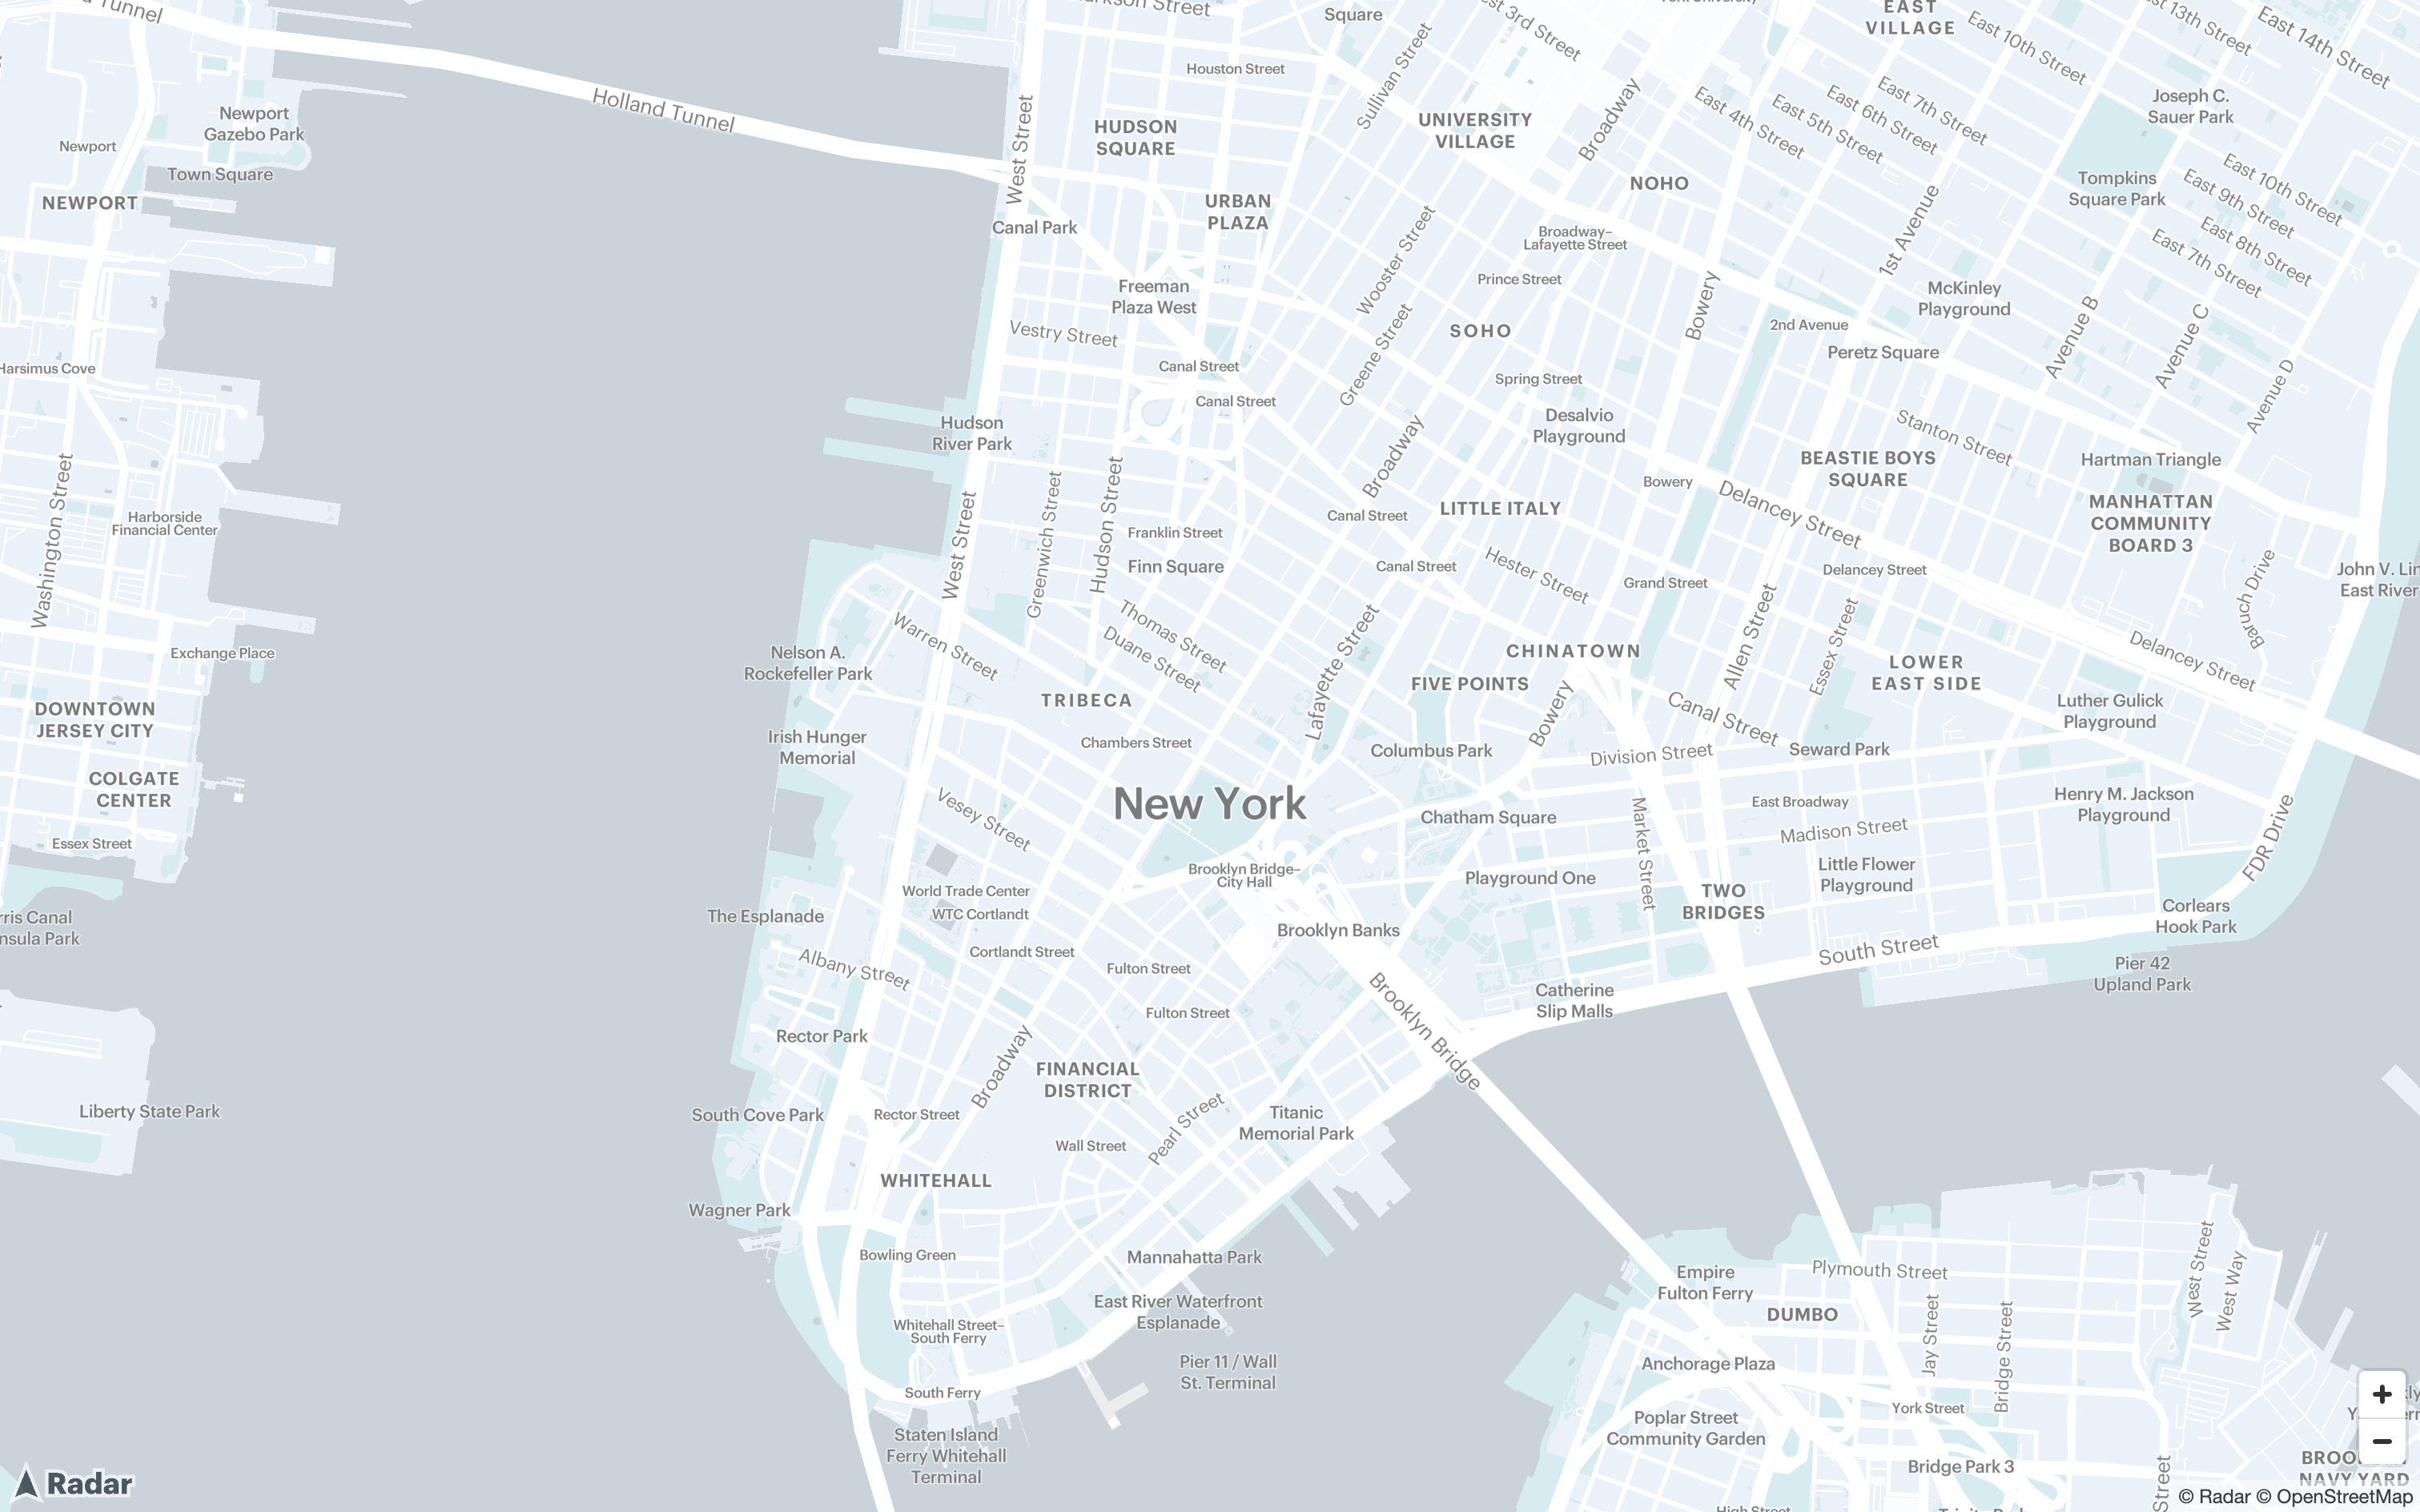 ```javascript theme={null}
// get IP address
async function getIpAddress() {
try {
const response = await fetch('https://api.radar.io/v1/geocode/ip', {
method: 'GET',
headers: {
'Authorization': 'prj_live_pk_...'
}
});
if (!response.ok) {
throw new Error(`HTTP error! status: ${response.status}`);
}
const data = await response.json();
if (data && data.address && data.address.latitude && data.address.longitude) {
const { longitude, latitude } = data.address;
return [longitude, latitude];
} else {
return [-73.9911, 40.7342]; // fallback to NYC
}
} catch (error) {
console.error('Error getting IP location:', error);
return [-73.9911, 40.7342]; // fallback to NYC
}
}
```
Use the coordinates returned to center the map:
```javascript theme={null}
const userLocation = await getIpAddress(); // get user location via IP address
// create a new map with IP address as center
const map = Radar.ui.map({
container: 'map',
style: '
```javascript theme={null}
// get IP address
async function getIpAddress() {
try {
const response = await fetch('https://api.radar.io/v1/geocode/ip', {
method: 'GET',
headers: {
'Authorization': 'prj_live_pk_...'
}
});
if (!response.ok) {
throw new Error(`HTTP error! status: ${response.status}`);
}
const data = await response.json();
if (data && data.address && data.address.latitude && data.address.longitude) {
const { longitude, latitude } = data.address;
return [longitude, latitude];
} else {
return [-73.9911, 40.7342]; // fallback to NYC
}
} catch (error) {
console.error('Error getting IP location:', error);
return [-73.9911, 40.7342]; // fallback to NYC
}
}
```
Use the coordinates returned to center the map:
```javascript theme={null}
const userLocation = await getIpAddress(); // get user location via IP address
// create a new map with IP address as center
const map = Radar.ui.map({
container: 'map',
style: '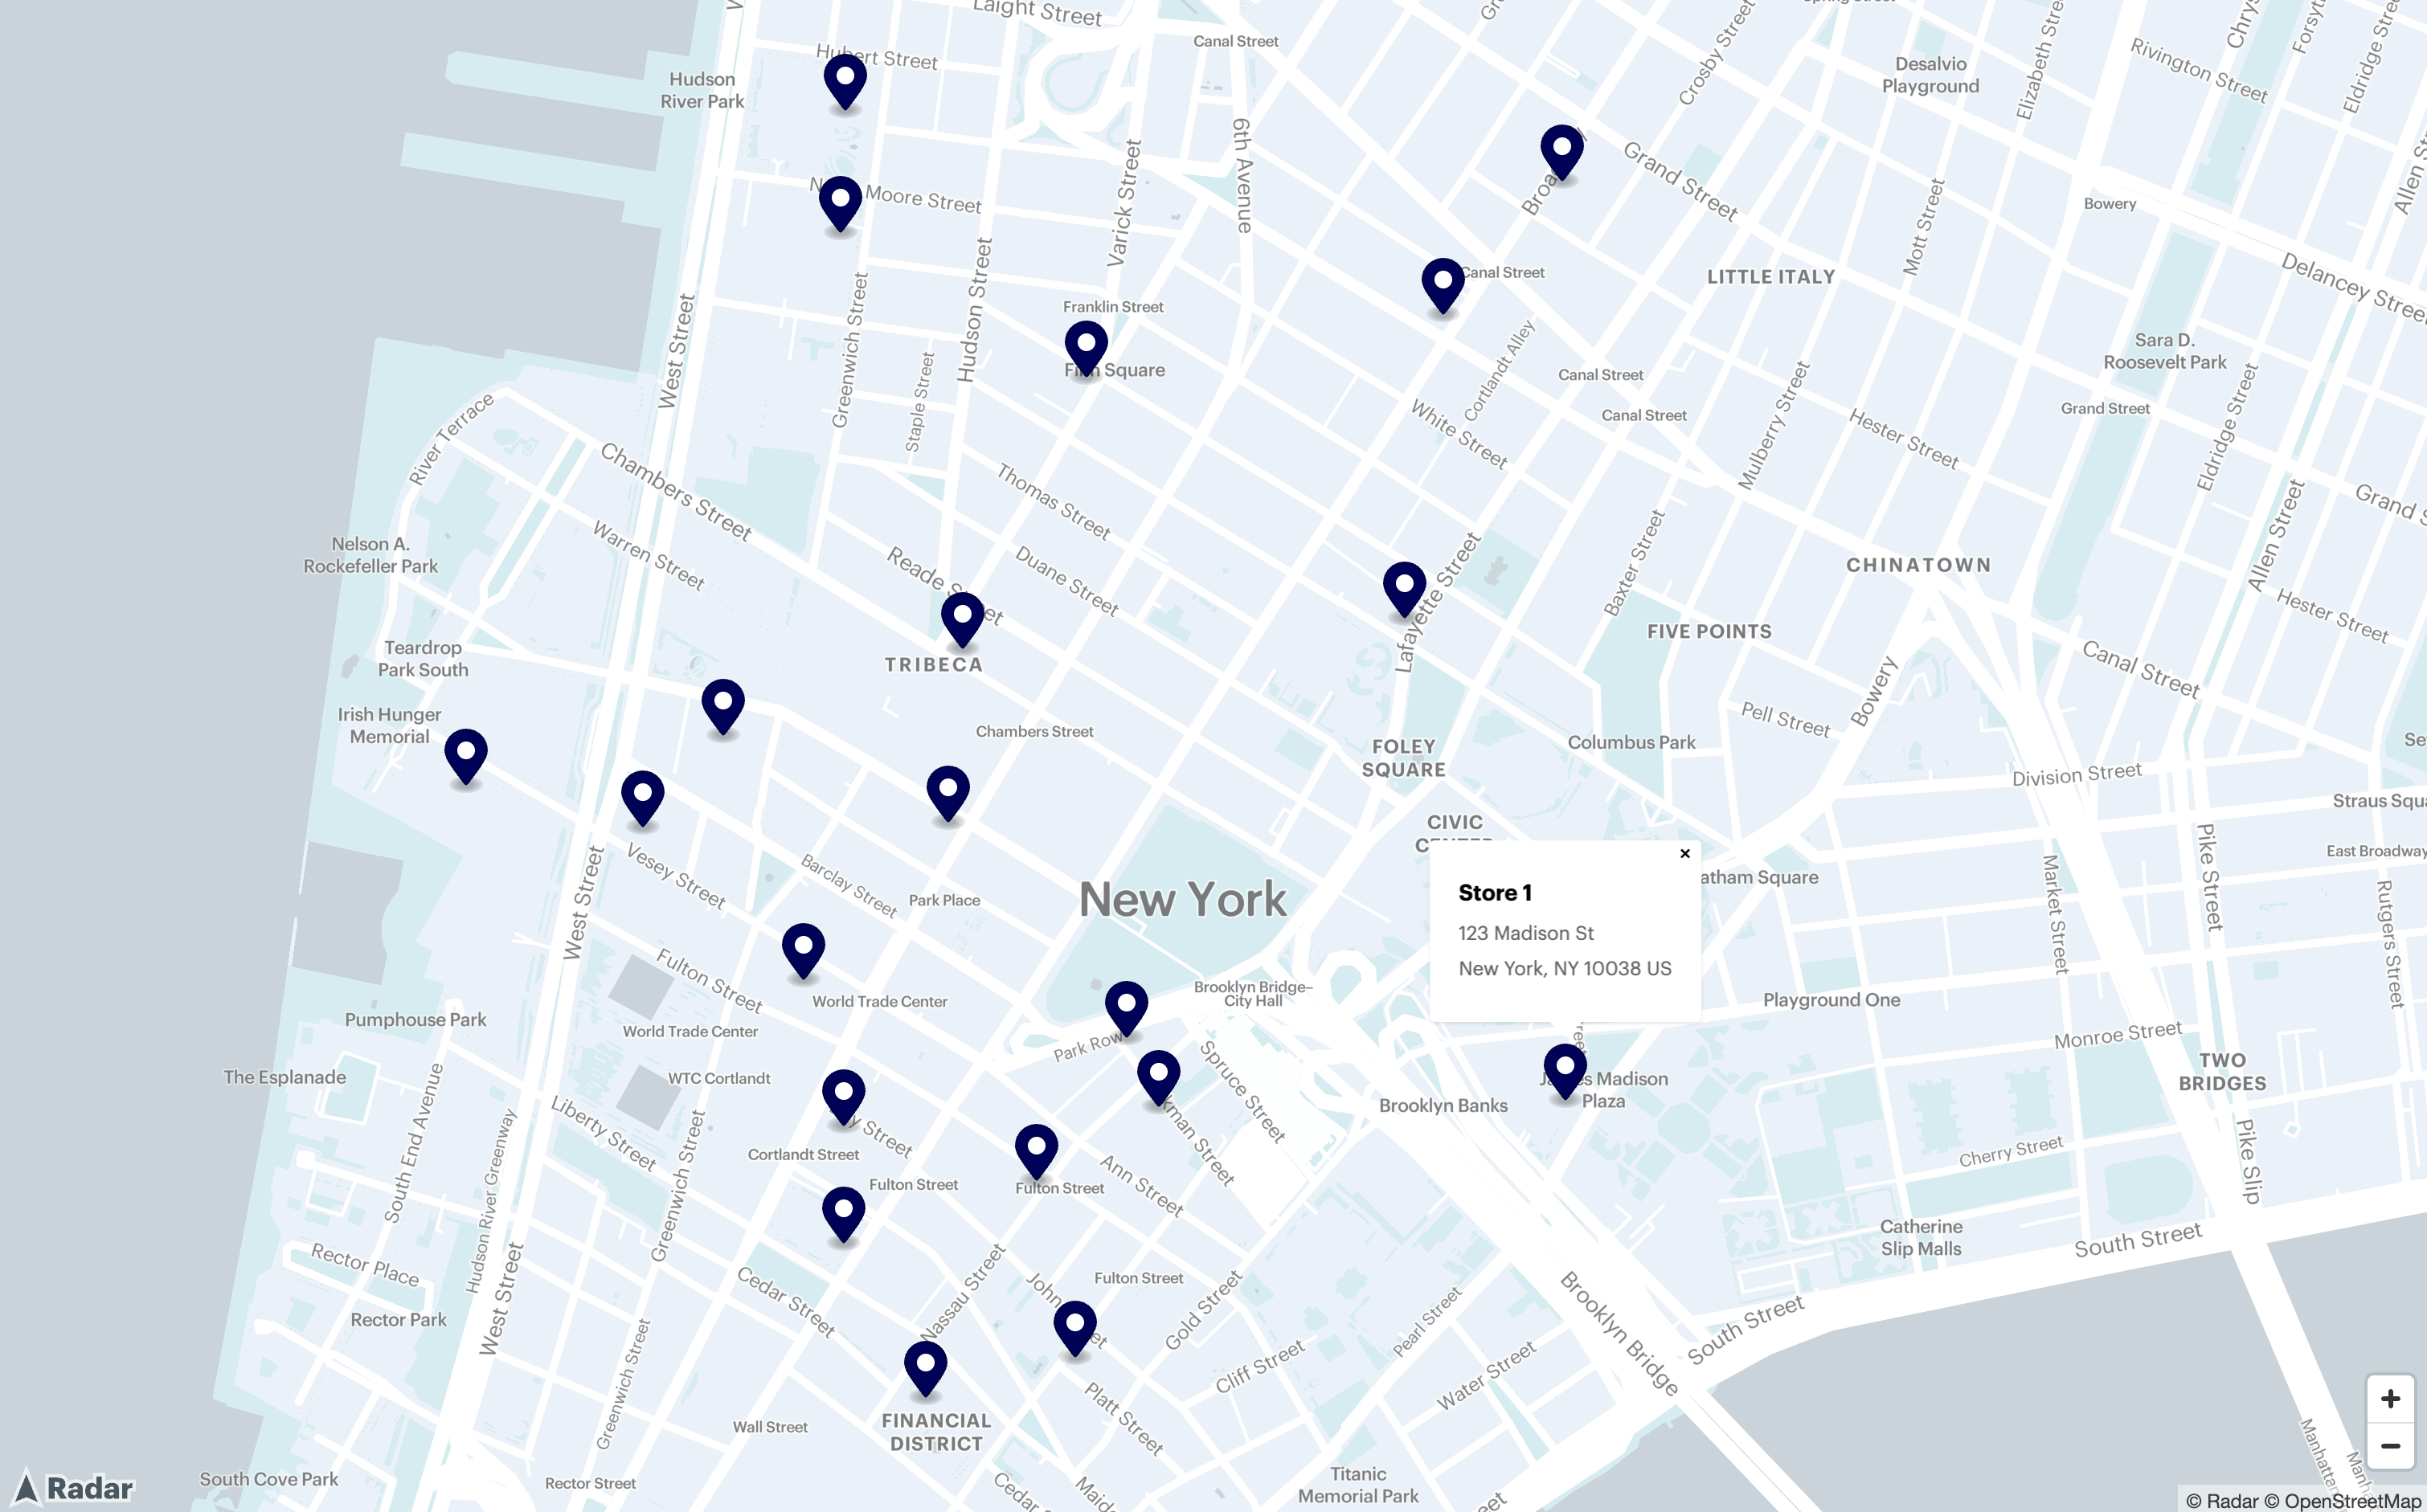 ```javascript theme={null}
const stores = [
{
name: 'Downtown Store',
address: '123 Main St, New York, NY 10001',
coordinates: [-73.990550, 40.735225],
},
// ... more stores
];
stores.forEach(store => {
const popupHTML = `
```javascript theme={null}
const stores = [
{
name: 'Downtown Store',
address: '123 Main St, New York, NY 10001',
coordinates: [-73.990550, 40.735225],
},
// ... more stores
];
stores.forEach(store => {
const popupHTML = `

 ```javascript theme={null}
// get distances from map center to all stores
async function getDistancesToGeofences(originCoords, storeList) {
try {
// prepare destinations from stores (max 100 per request)
const destinations = storeList
.filter(store => store.coordinates)
.map(store => {
const [lng, lat] = store.coordinates;
return `${lat},${lng}`;
})
.slice(0, 100); // API limit
if (destinations.length === 0) {
console.warn('No valid destinations found');
return null;
}
// format origin
const origin = `${originCoords[1]},${originCoords[0]}`; // lat,lng format
// build request URL
const url = `https://api.radar.io/v1/route/matrix?origins=${origin}&destinations=${destinations.join('|')}&mode=car&units=imperial`;
const response = await fetch(url, {
method: 'GET',
headers: {
'Authorization': 'prj_live_pk_...'
}
});
if (!response.ok) {
throw new Error(`HTTP error! status: ${response.status}`);
}
const data = await response.json();
// process results - data.matrix[0] contains distances from origin to all destinations
if (data.matrix && data.matrix[0]) {
const distances = data.matrix[0].map((route, index) => ({
store: storeList[index],
distance: route.distance?.value, // in miles
duration: route.duration?.value, // in minutes
distanceText: route.distance?.text,
durationText: route.duration?.text
}));
return distances;
}
return null;
} catch (error) {
console.error('Error calling Distance Matrix API:', error);
return null;
}
}
```
## Putting it all together
You now have a fully functional store locator with location detection, interactive markers, address search, and real-time distance calculations. Users can find their nearest stores in seconds without granting location permissions.
```javascript theme={null}
// get distances from map center to all stores
async function getDistancesToGeofences(originCoords, storeList) {
try {
// prepare destinations from stores (max 100 per request)
const destinations = storeList
.filter(store => store.coordinates)
.map(store => {
const [lng, lat] = store.coordinates;
return `${lat},${lng}`;
})
.slice(0, 100); // API limit
if (destinations.length === 0) {
console.warn('No valid destinations found');
return null;
}
// format origin
const origin = `${originCoords[1]},${originCoords[0]}`; // lat,lng format
// build request URL
const url = `https://api.radar.io/v1/route/matrix?origins=${origin}&destinations=${destinations.join('|')}&mode=car&units=imperial`;
const response = await fetch(url, {
method: 'GET',
headers: {
'Authorization': 'prj_live_pk_...'
}
});
if (!response.ok) {
throw new Error(`HTTP error! status: ${response.status}`);
}
const data = await response.json();
// process results - data.matrix[0] contains distances from origin to all destinations
if (data.matrix && data.matrix[0]) {
const distances = data.matrix[0].map((route, index) => ({
store: storeList[index],
distance: route.distance?.value, // in miles
duration: route.duration?.value, // in minutes
distanceText: route.distance?.text,
durationText: route.duration?.text
}));
return distances;
}
return null;
} catch (error) {
console.error('Error calling Distance Matrix API:', error);
return null;
}
}
```
## Putting it all together
You now have a fully functional store locator with location detection, interactive markers, address search, and real-time distance calculations. Users can find their nearest stores in seconds without granting location permissions.